
EVICTED SPOOFER
User Instruction
Select your processor
The guide will change based on your CPU
Select your processor above to see the guide
Intel CPUs do not support RAID. Your path is a clean Windows reinstall + Virtual Disk (VHD/VHDX) - install all games on it.
Apex Legends requires RAID0, but the Intel path does not support RAID. Contact Discord for the correct method before continuing.
All games - install each on the virtual disk:
Create a Virtual Disk (VHD/VHDX)
Open Disk Management
Right-click Start → Disk Management
Create VHD
Click Action → Create VHD. Choose a location and size. Select VHDX for better performance.
Initialize the disk
Initialize with GPT. Create a new simple volume and format as NTFS.
Install game on virtual disk
Set the new drive as install path in Steam / launcher. Do not install on C: drive.
Look up the game's required disk space, then add 10-20 GB as a buffer. Example: 50 GB game → create 65-70 GB disk.
Video tutorial - Creating a Virtual Disk
Virtual Disk ready - proceed to Step 1 - BIOS Preparation.
Playing Rust or Apex Legends? Do both guides in this order: 1. RAID0, then 2. VHD. Other games only need VHD.
Rust or Apex: RAID0 first
If you play Rust or Apex Legends, complete the RAID0 guide before creating the VHD.
Virtual Disk (VHD)
For Rust or Apex: open this after RAID0. For other games: start here.
Virtual Disk guide
Install on virtual disk if you play:
Open Disk Management
Right-click Start → Disk Management
Create VHD
Click Action → Create VHD. Choose location and size. Select VHDX.
Initialize the disk
Initialize with GPT. Create a new simple volume, format as NTFS.
Install game on virtual disk
Set the new drive as install path in Steam / launcher. Do not install on C: drive.
Look up the game's required disk space, then add 10-20 GB as a buffer.
RAID Reinstallation (Rust and Apex)
If you do not load the correct RAID drivers during Windows installation, no disk will appear. Follow every step carefully.
Windows 11 - Special requirement
You must use the special autounattend.xml file for RAID.
AM4
Ryzen 5000 and older
AM5
Ryzen 7000 and newer
└── (USB Drive)
    ├── boot / efi / sources / support
    ├── autounattend.xml   ← required for Win11
    ├── setup.exe
    ├── Realtek.exe        ← network driver (optional)
    └── AM4 - RAID         ← or AM5 - RAID
| Board | Menu path | Setting |
|---|---|---|
| ASUS | Advanced - SATA Configuration | SATA Mode - RAID |
| GIGABYTE | Settings - IO Ports | SATA Mode - RAID |
| ASRock | Advanced - Storage Config | SATA Mode - RAID |
| MSI | Advanced - Integrated Peripherals | SATA Mode - RAID |
Advanced → RAIDXpert2 → Array Management
Array Management → Create Array
Boot from USB. At "Where do you want to install Windows?":
Final Verification
After Installation
RAID0 complete. Rust and Apex users still need to create a VHD.
Rust or Apex: create the VHD
RAID0 is done. Open the VHD guide now and finish the storage setup.
Before continuing, the following BIOS options must be disabled. Skipping this step will cause the spoofer to fail.
Disable in BIOS:
Settings / Boot / Security tab depending on motherboard
Also listed as fTPM or PTT on some boards
tpm.msc and press EnterIf TPM is disabled, Windows will report: "Compatible TPM cannot be found"
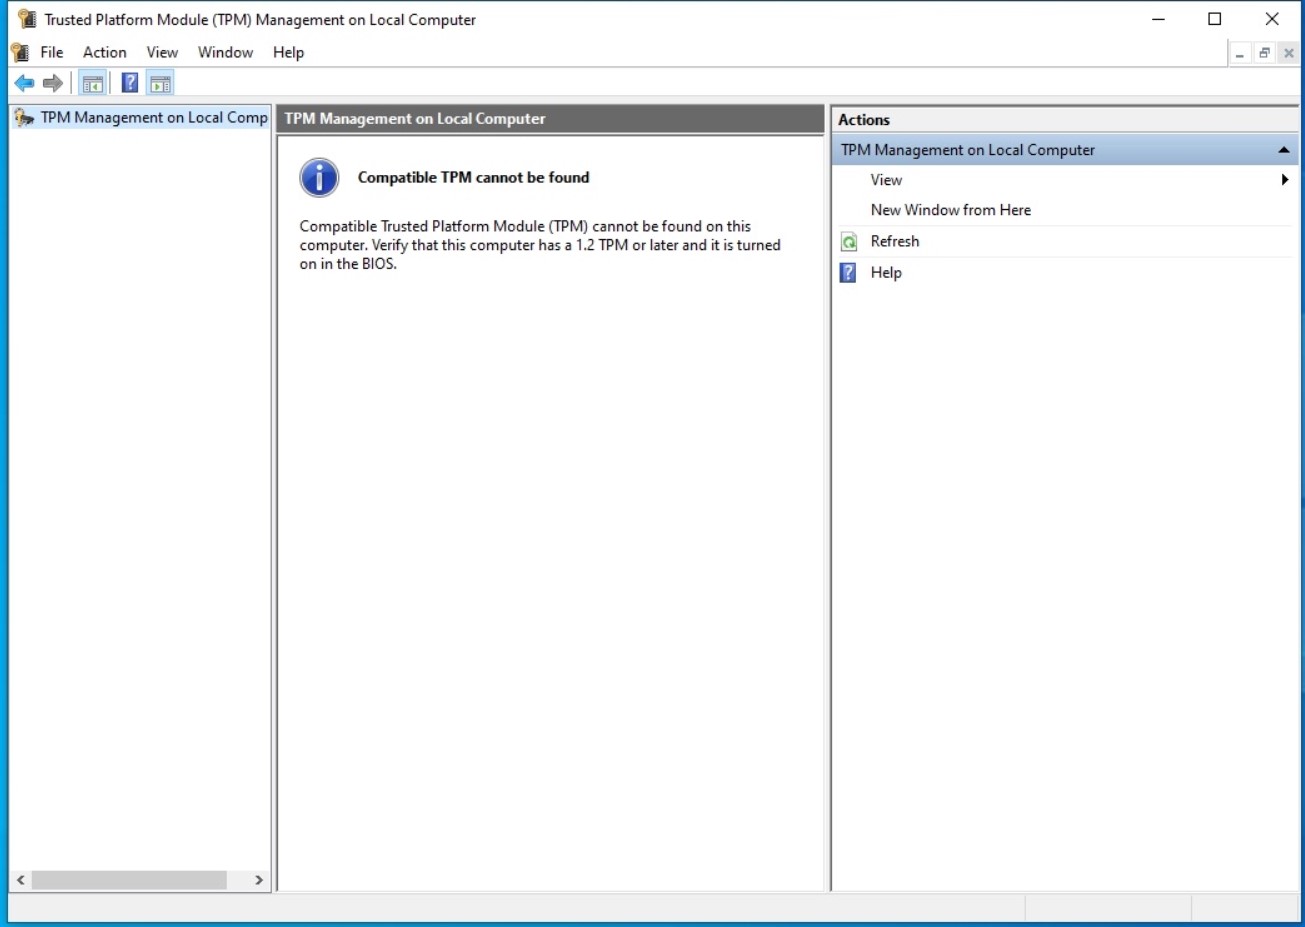
If TPM is detected or still enabled - stop and go back into BIOS to disable it before proceeding.
Perform the following actions strictly in this order. Skipping or reordering steps may cause issues.
Cleanup order:
Disabling antivirus using dControl is strongly recommended for a clean disable.
sordum
Required system components:
Missing components may prevent the loader from starting or cause unstable behavior.
Download the loader:
download-loader.lolSetup steps:
Permanent Spoofer is now launched and ready for use.
We strongly recommend using the EFI method. It is the most stable option and provides the highest level of reliability during usage.
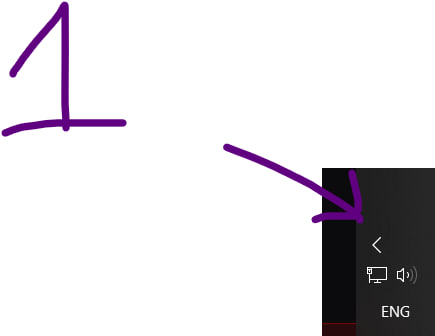
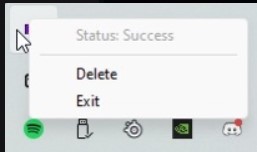
After the system boots from the USB drive, check the system tray. The status must display success.
The Default method is simpler and does not require a USB flash drive.
If any serial shows a failed status, open the Advanced section and click SPOOF MAC once.
Restart your PC and verify the result in the system tray. The status must display success.
success - the operation completed successfully
failed - the spoofer was not applied
Choose your game and follow every rule shown for it.
Never log back into an account or service you used during a previous ban. Even a single login to one of these accounts can be enough to get rediscovered.
Got "Publisher Banned" in Rust?
If you got "Publisher Banned" in Rust - you have to wait 24 hours and then try to spoof again to prevent getting EAC again.
Special case - Spoof EFI
If you are using an EFI spoof via USB stick, you can leave it plugged in as long as it is not banned. No disconnection is required if the device is clean.
Take the time to check each point before starting a game.
A simple oversight (old account, banned key, wrong device) can lead to a new ban immediately.
Find your issue, apply the fix once, then check the result again.
Open ADVANCED. Find the component that did not change and click it once.
Example: if VOLUME ID failed, click VOLUME ID, then check the value again.
Run the same method one more time and check the tray again.
Still showing FAILED? Stop retrying and open a Discord ticket.
Switch to the EFI method. It is the recommended fallback when Default does not return SUCCESS.
Swap the USB drive. Use a different flash drive with a capacity of 16 GB or smaller, then run EFI again.
Run EFI again. After reboot, set the USB as Boot #1 and Windows as Boot #2, then check the tray.
Still stuck on FAILED? Open a Discord ticket.
Load the RAID driver. Click Load driver and open the correct AM4 or AM5 RAID folder on your USB.
Still empty? Make sure UEFI is enabled.
Open Task Manager, Performance, Disk. It should show AMD-RAID Array X or SCSI Disk Device.
Nothing there? Return to the RAID guide and repeat from Step 2.
Stop here. Go back to BIOS, disable TPM, then check tpm.msc again. Do not continue while TPM is still detected.
Check System Cleanup first. Disable your antivirus and install every dependency, especially .NET Framework 3.5 and DirectX 11.
Done? Run the loader again.
Chrome and Edge can silently block the file when Defender flags it.
Open your browser Downloads. Open the menu next to the file and choose Save file.